Pajama Frog – PJs holder
and cuddly pillow
The Pajama Frog is
basically a backpack in which only the front zippered pocket is accessible. The larger portion of the backpack is stuffed with poly-fill and sewn shut.
Anti-pill fleece makes it cuddly and washable; PJs pocket makes it functional; frog eyes
and legs make it silly-cute.
You will need:
30” x 60” of green
anti-pill fleece
10” x 12” of yellow
anti-pill fleece
Small scraps of black and
white fleece for eyes
30" x 32” contrasting fabric for pocket
12” zipper
Poly-fill
18” x 21” of quilt batting,
for added padding, if desired
1. Make frog eyes, legs, and optional handle.
EYES
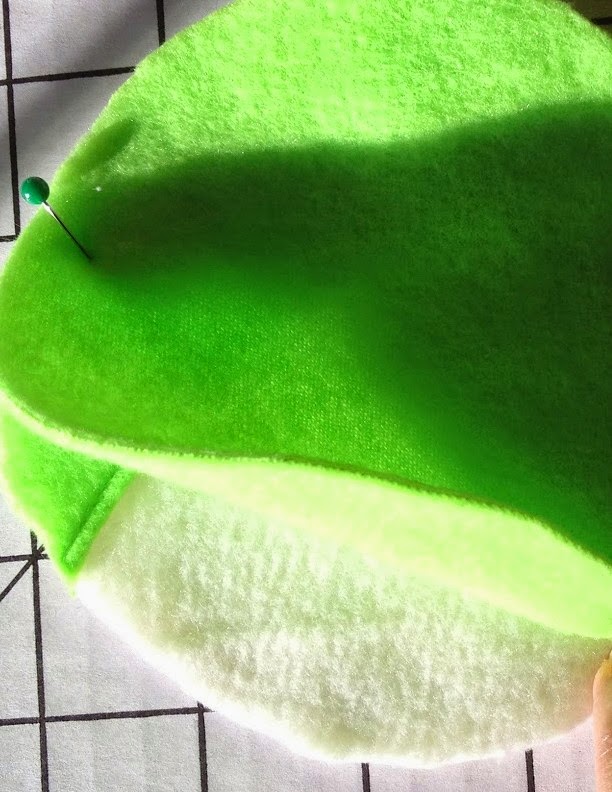
Press under ¼” of notched
edge of eyelid.
Top-stitch eyelid to white
eyeball circle, aligning raw edges.
Stitch black eye to white
eyeball circle.
With right sides together, using 3/8" seam allowance, stitch back of eye (solid green circle) to white eyeball, leaving 1-2” open at
bottom for turning.
Turn right side out; stuff
with poly-fill, leaving stuffing sticking out of hole, for stability, to keep
eyes from flopping around too much after you attach them to the backpack.
FRONT LEGS
Stitch circular yellow
“toe pads” to front legs.
With right sides together, using 3/8" seam allowance, stitch solid green leg/foot section leg/foot section
with yellow toe pads, leaving one side of leg open.
Clip notch between toes; trim curves around toes.
Turn right side out. Stuff toes with poly-fill. Handstitch open side of leg. Stuff the rest of the leg.
BACK LEGS
With right sides together, using 3/8" seam allowance, stitch two leg pieces together around the curved edges, leaving straight side
open for turning. Turn right side
out. Stuff with poly-fill. Stitch
straight edge closed, using 5/8” seam allowance.
HANDLE (optional)
Using a 10" x 4" strip of fabric, fold long edges in toward center; press. Fold in half lengthwise; press again. Top-stitch close to long edge.
2. Assemble
If using quilt batting for
extra padding, sew quilt batting to wrong side of upper front and lower
front.
Press under ¼” on rounded
edge of frog’s belly.
Pin belly to right side of lower front, aligning straight edge of belly with bottom edge of lower front, matching centers. Top-stitch along curved edge of belly.
Pin front legs over belly
at curved edge. Stitch with zig-zag stitch.
ZIPPER AND POCKET 1
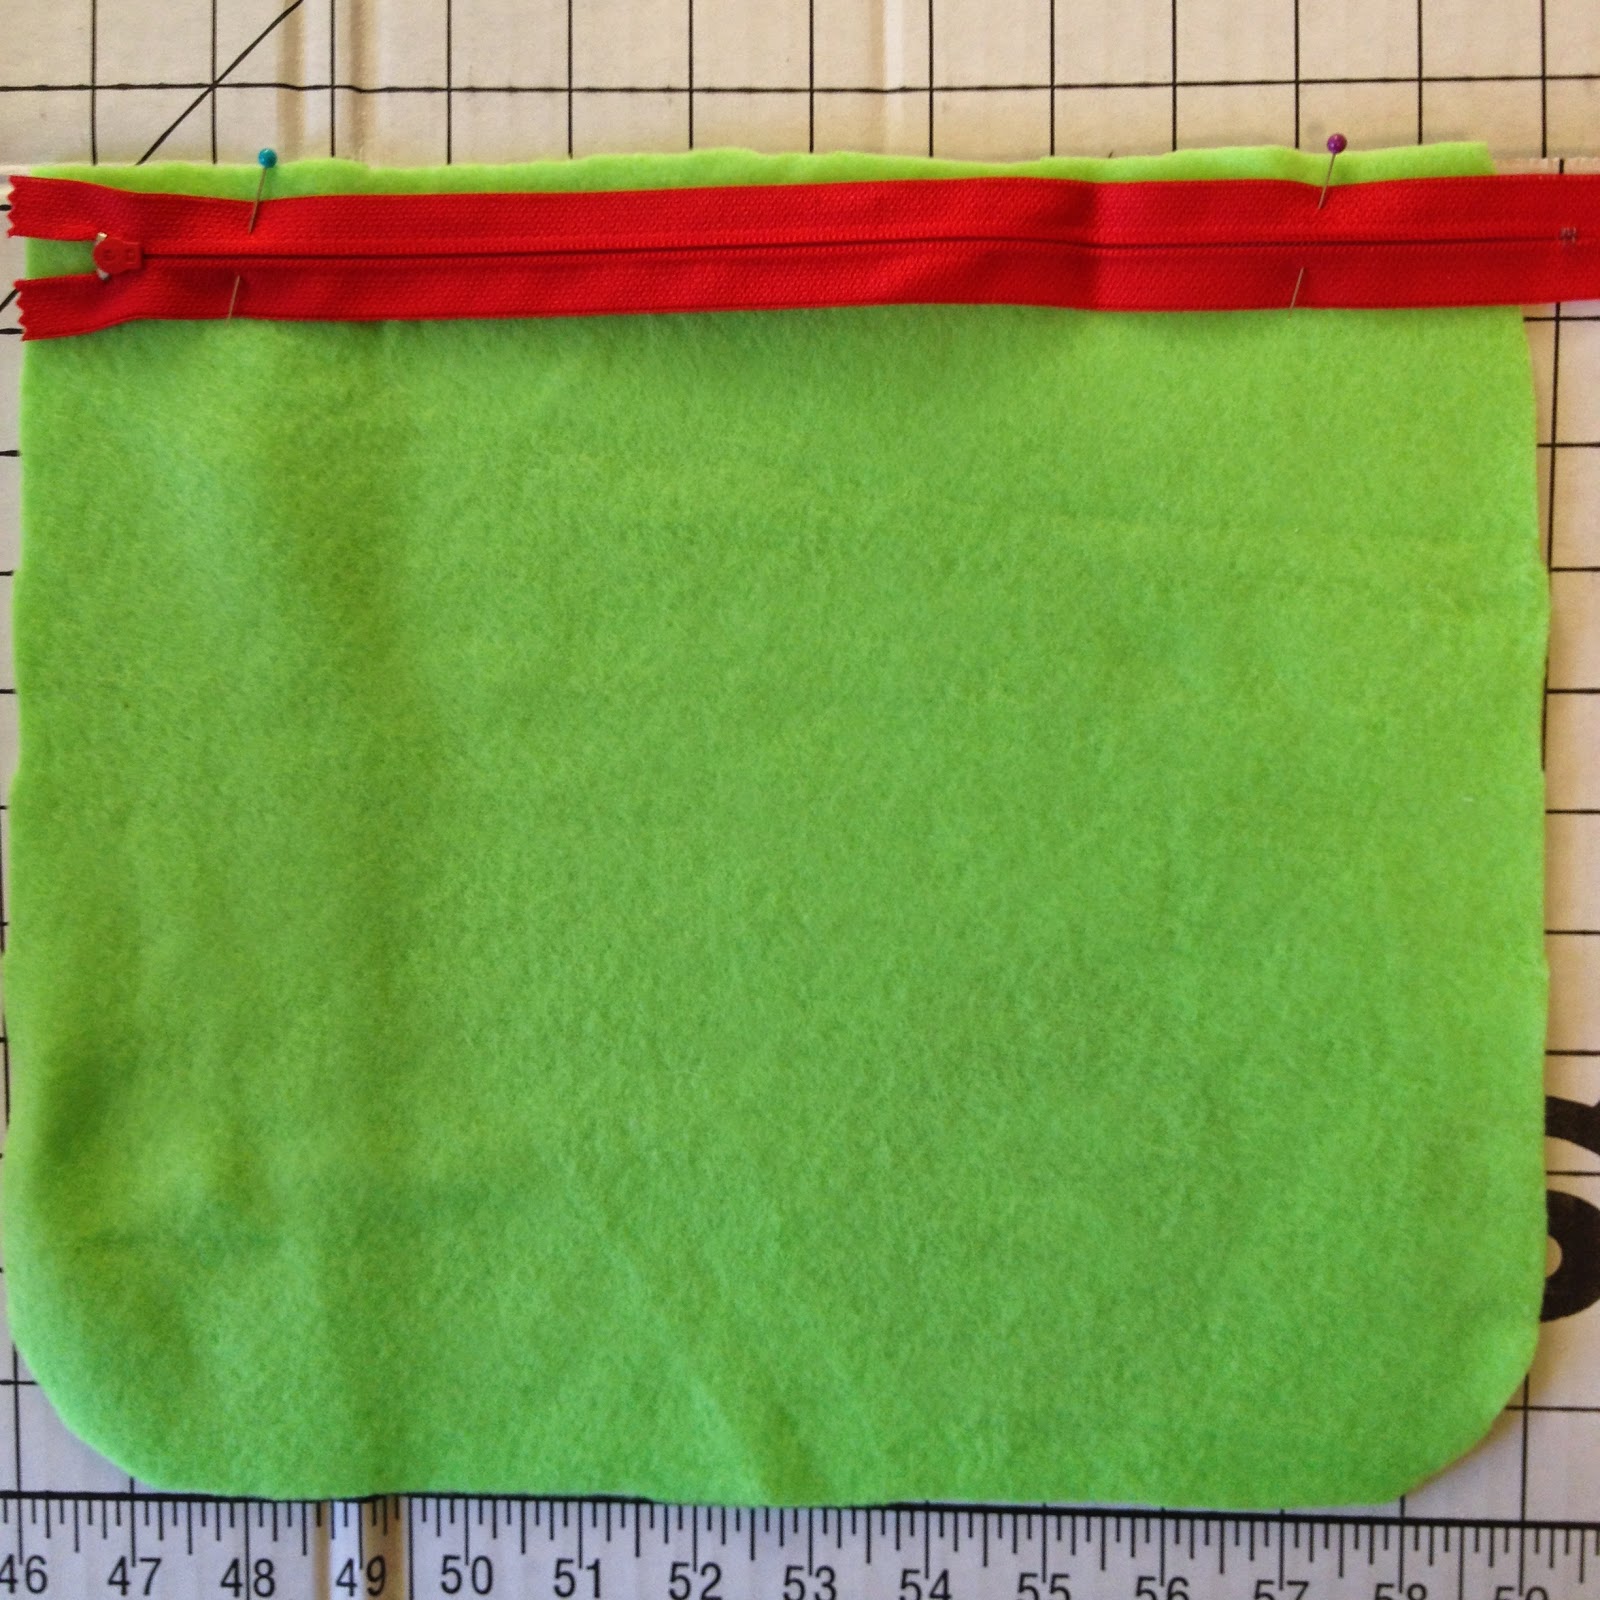
Pin closed zipper, face
down, to upper edge of lower front (outside of fabric), with zipper tape about
¼” from upper edge. Place zipper tab 5/8" from raw edge.
Machine baste zipper in place,
½” from fabric edge.
Pin Pocket 1 to upper edge
of lower front, over zipper.
With zipper
foot, stitch ½” from raw edge.

Turn pocket 1 to inside; press; top stitch lower front close to upper edge.
ZIPPER AND POCKET 2
(Pocket 2 is just like Pocket 1, except that you are stitching the other side of the zipper.)
Pin other side of zipper
to bottom edge of upper front, with zipper face down and zipper tape ¼” from lower
edge. Baste zipper in place, ½” from
fabric edge.
Pin Pocket 2 to bottom
edge of upper front, over zipper. Stitch,
using zipper foot, ½” from raw edge.
Turn pocket to inside; press; top stitch.
As you can see, Pocket 1 and Pocket 2 can be cut from any fabric (here, a scrap of green I had on hand). Back pocket is cut from a pink polka-dot fat quarter, because it shows when the frog's mouth is open.
POCKET BACK
With zipper closed, pin
pocket back to upper and lower front, matching centers and raw edges. The right side of the pocket back fabric
faces the pocket front.
Now you are attaching all layers of front together: the outside fleece, the front pockets, and the
pocket back. Baste, using 3/8” seam
allowance.
With right sides together,
stitch upper gusset to lower gusset, using 5/8" seam allowance.
Pin gusset to front,
matching top and bottom centers of gusset to top and bottom centers of front. Stitch, using 5/8" seam allowance.
Stitch handle to back on
the outside at placement mark.
Pin back legs to back
piece, raw edges even, using pattern placement markings. Baste, sewing along straight edge of leg
piece, using 5/8" seam allowance.
Pin eyes to back, raw
edges even, green backs of eyes against outside of back (the side with the
handle). Baste eyes to back.
Pin gusset to back, right
sides together, matching centers, using 5/8" seam allowance.
Stitch, leaving 5” opening at bottom (large enough to get your hand in) for turning and stuffing.
Turn backpack right side
out. Stuff with poly-fill. Hand stitch bottom opening closed.
Frog is ready to cuddle
and hold PJs.


